Undertanding the Laravel config part 1: app.php
Published by Andrés López

When starting a new Laravel application (which gets simpler with each new version), much of Laravel's magic lies in its source code: routing, databases, encryption, design patterns, etc. We know that when working with code, customization is often necessary to adapt tools to your application's requirements.
Laravel offers two ways to do this:
- Through the service container (I'll make a future post about this)
- Through global configuration files
In this article, we'll explore the app.php configuration file in detail:
return [
    'name' => env('APP_NAME', 'Laravel'),
    'env' => env('APP_ENV', 'production'),
    'debug' => (bool) env('APP_DEBUG', false),
    'url' => env('APP_URL', 'http://localhost'),
    'timezone' => 'UTC',
    'locale' => env('APP_LOCALE', 'en'),
    'fallback_locale' => env('APP_FALLBACK_LOCALE', 'en'),
    'faker_locale' => env('APP_FAKER_LOCALE', 'en_US'),
    'cipher' => 'AES-256-CBC',
    'key' => env('APP_KEY'),
    'previous_keys' => [
        ...array_filter(
            explode(',', env('APP_PREVIOUS_KEYS', ''))
        ),
    ],
    'maintenance' => [
        'driver' => env('APP_MAINTENANCE_DRIVER', 'file'),
        'store' => env('APP_MAINTENANCE_STORE', 'database'),
    ],
];
name
'name' => env('APP_NAME', 'Laravel'),
This is your application's name, generally used as an identifier. Here are some common use cases:
HTML
Recommended to include in your title tag. Many developers (myself included) create layouts like this:
// components/layout/app.blade.php
<!DOCTYPE html>
<html>
    <head>
        <title>
            {{ config('app.name') }} | {{ $title  ?? 'Laravel' }}
    </head>
</html>
Emails
When sending emails, we use the application name as the sender name to build trust. Laravel does this automatically, but you can do it manually, see documentation here:
use Illuminate\Mail\Mailables\Address;
use Illuminate\Mail\Mailables\Envelope;

public function envelope(): Envelope
{
    return new Envelope(
        from: new Address('contact@example.com', config('app.name')),
        subject: 'Order Shipped',
    );
}
env
'env' => env('APP_ENV', 'production'),
The environment helps determine your application's context, sometimes we need send emails to the original recipients when we are in prod. Common values:
- local
- production
- staging
Usage examples:
$isProduction = config('app.env') == 'production';
More elegant way:
// Using Laravel's App class
use Illuminate\Support\Facades\App;

if (App::environment('local')) {
    // Local environment
}
or using the app helper:
app()->environment();

app()->environment('local');

app()->environment(['local', 'staging']);

app()->isLocal();

app()->isProduction();
A nice trick to use this is when we are sending email and we don't want send to the orginal recipient, we can add this code in any boot method from service providers:
use Illuminate\Support\Facades\Mail;

/**
 * Bootstrap any application services.
 *
 * @return void
 */
public function boot(): void
{
    if (! $this->app->isProduction()) {
        Mail::alwaysTo('contacto@redplug.com.mx');
    }
}
debug
'debug' => (bool) env('APP_DEBUG', false),
This configuration determines how much error information is displayed to users when issues occur in your application. For local or testing environments, it should be set to true, while in production environments it should always be false.
Error 500 in debug mode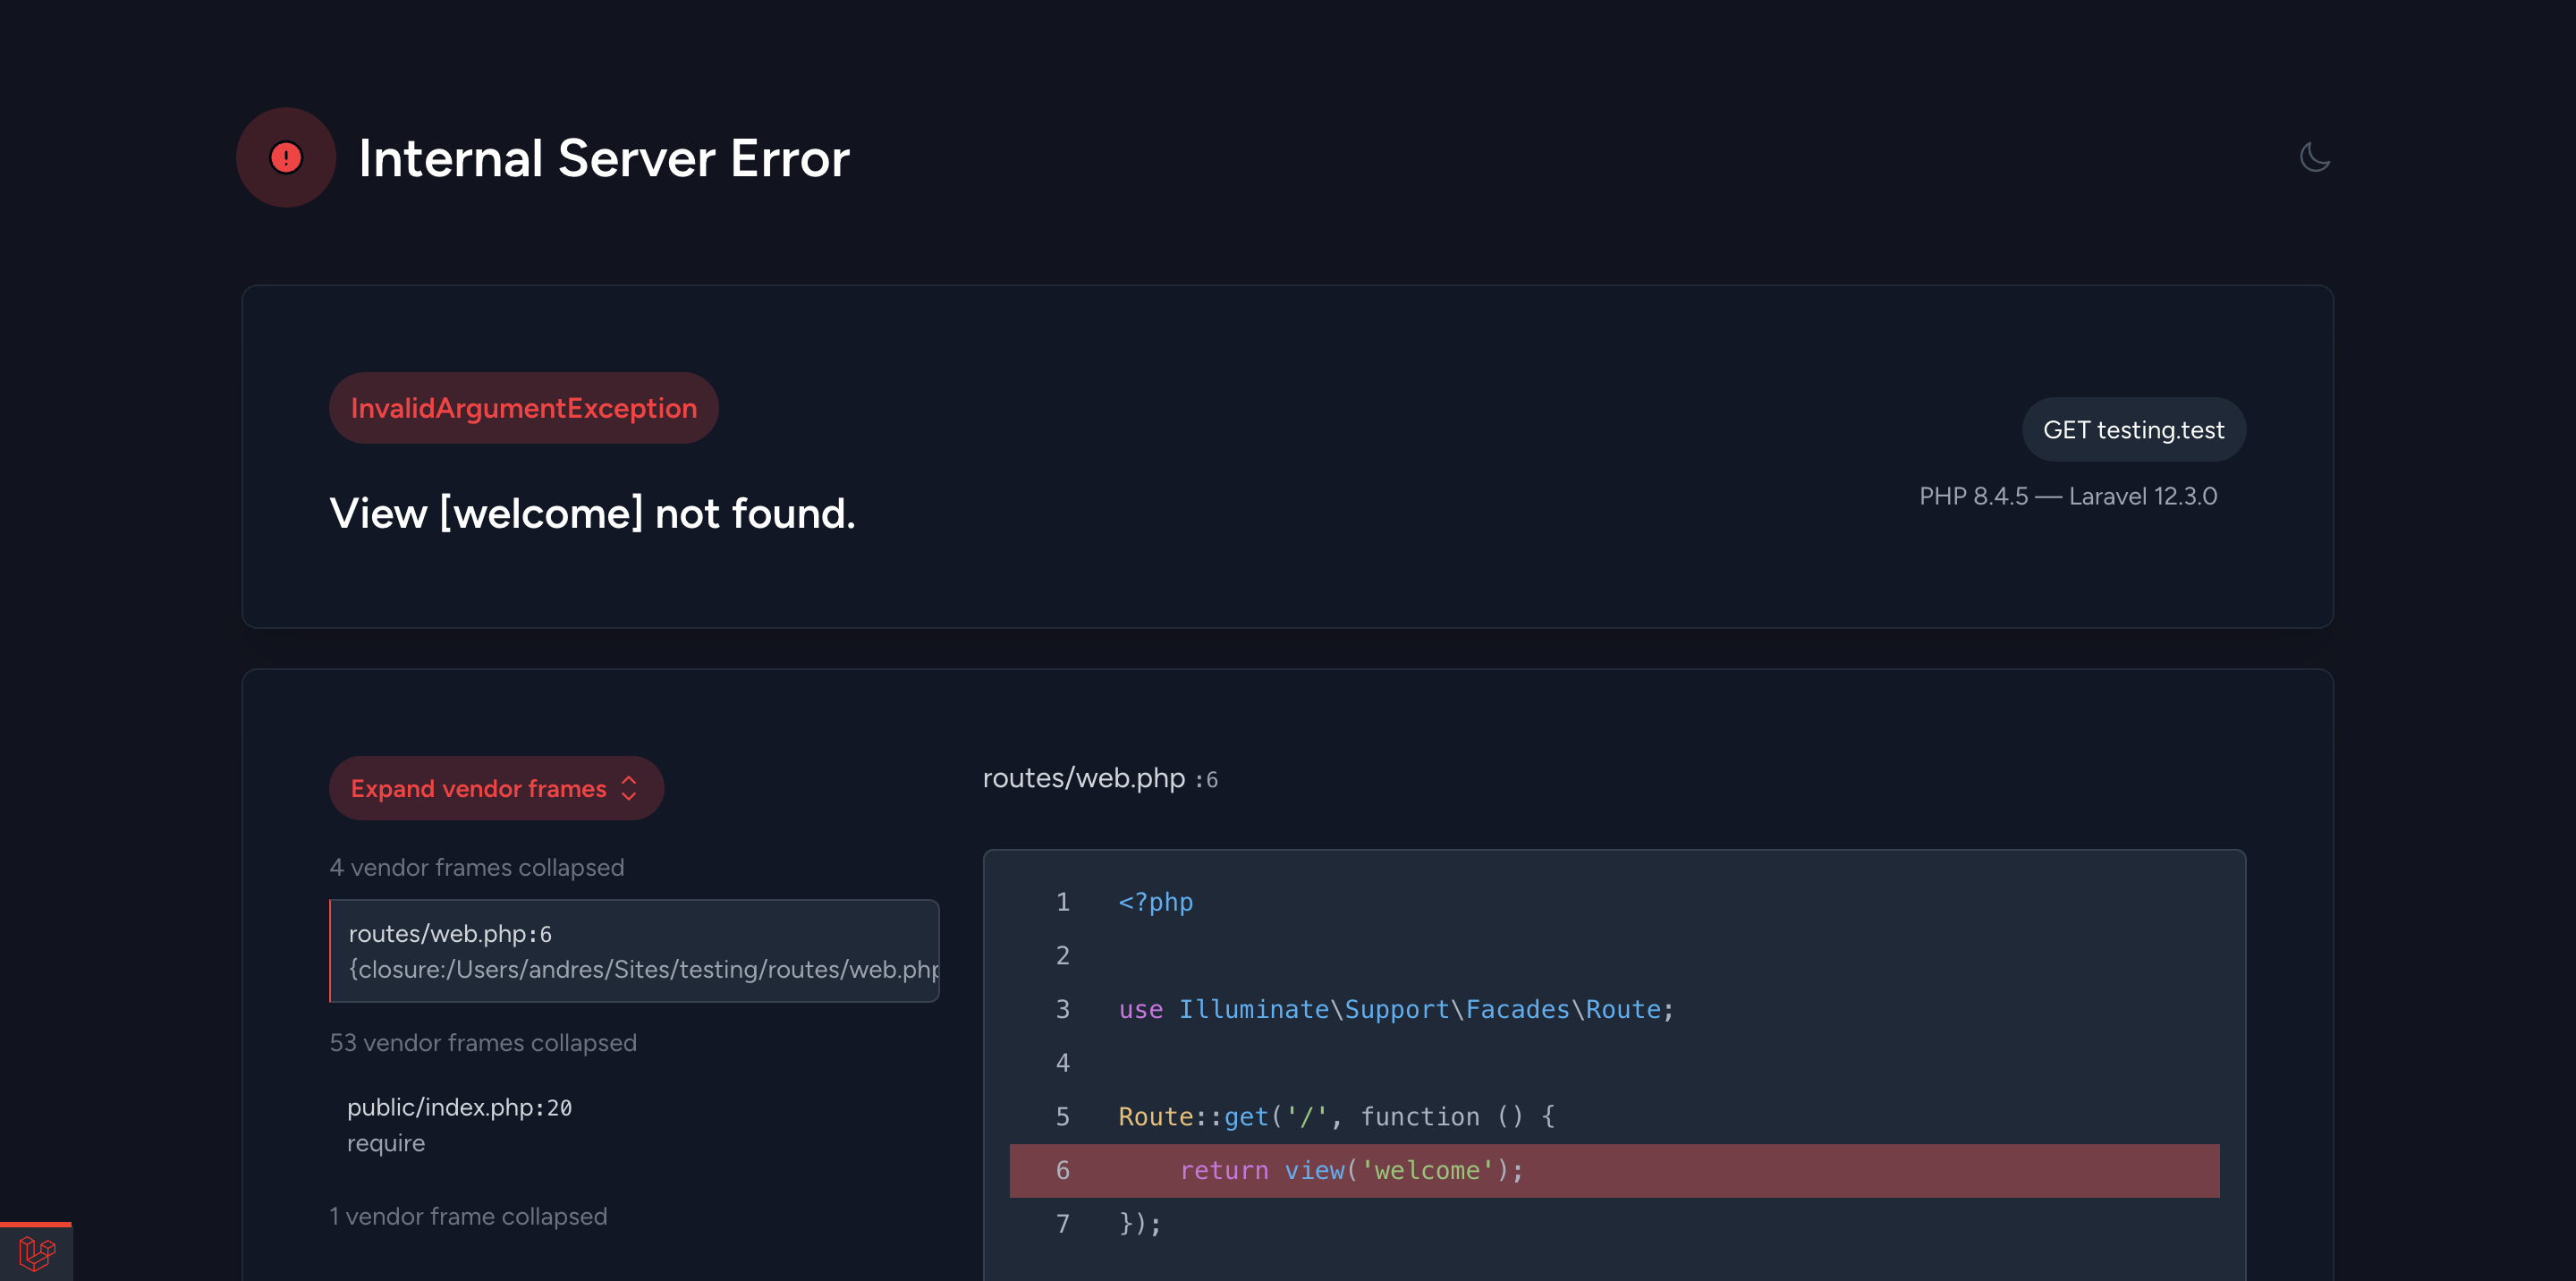
Error 500 without debug mode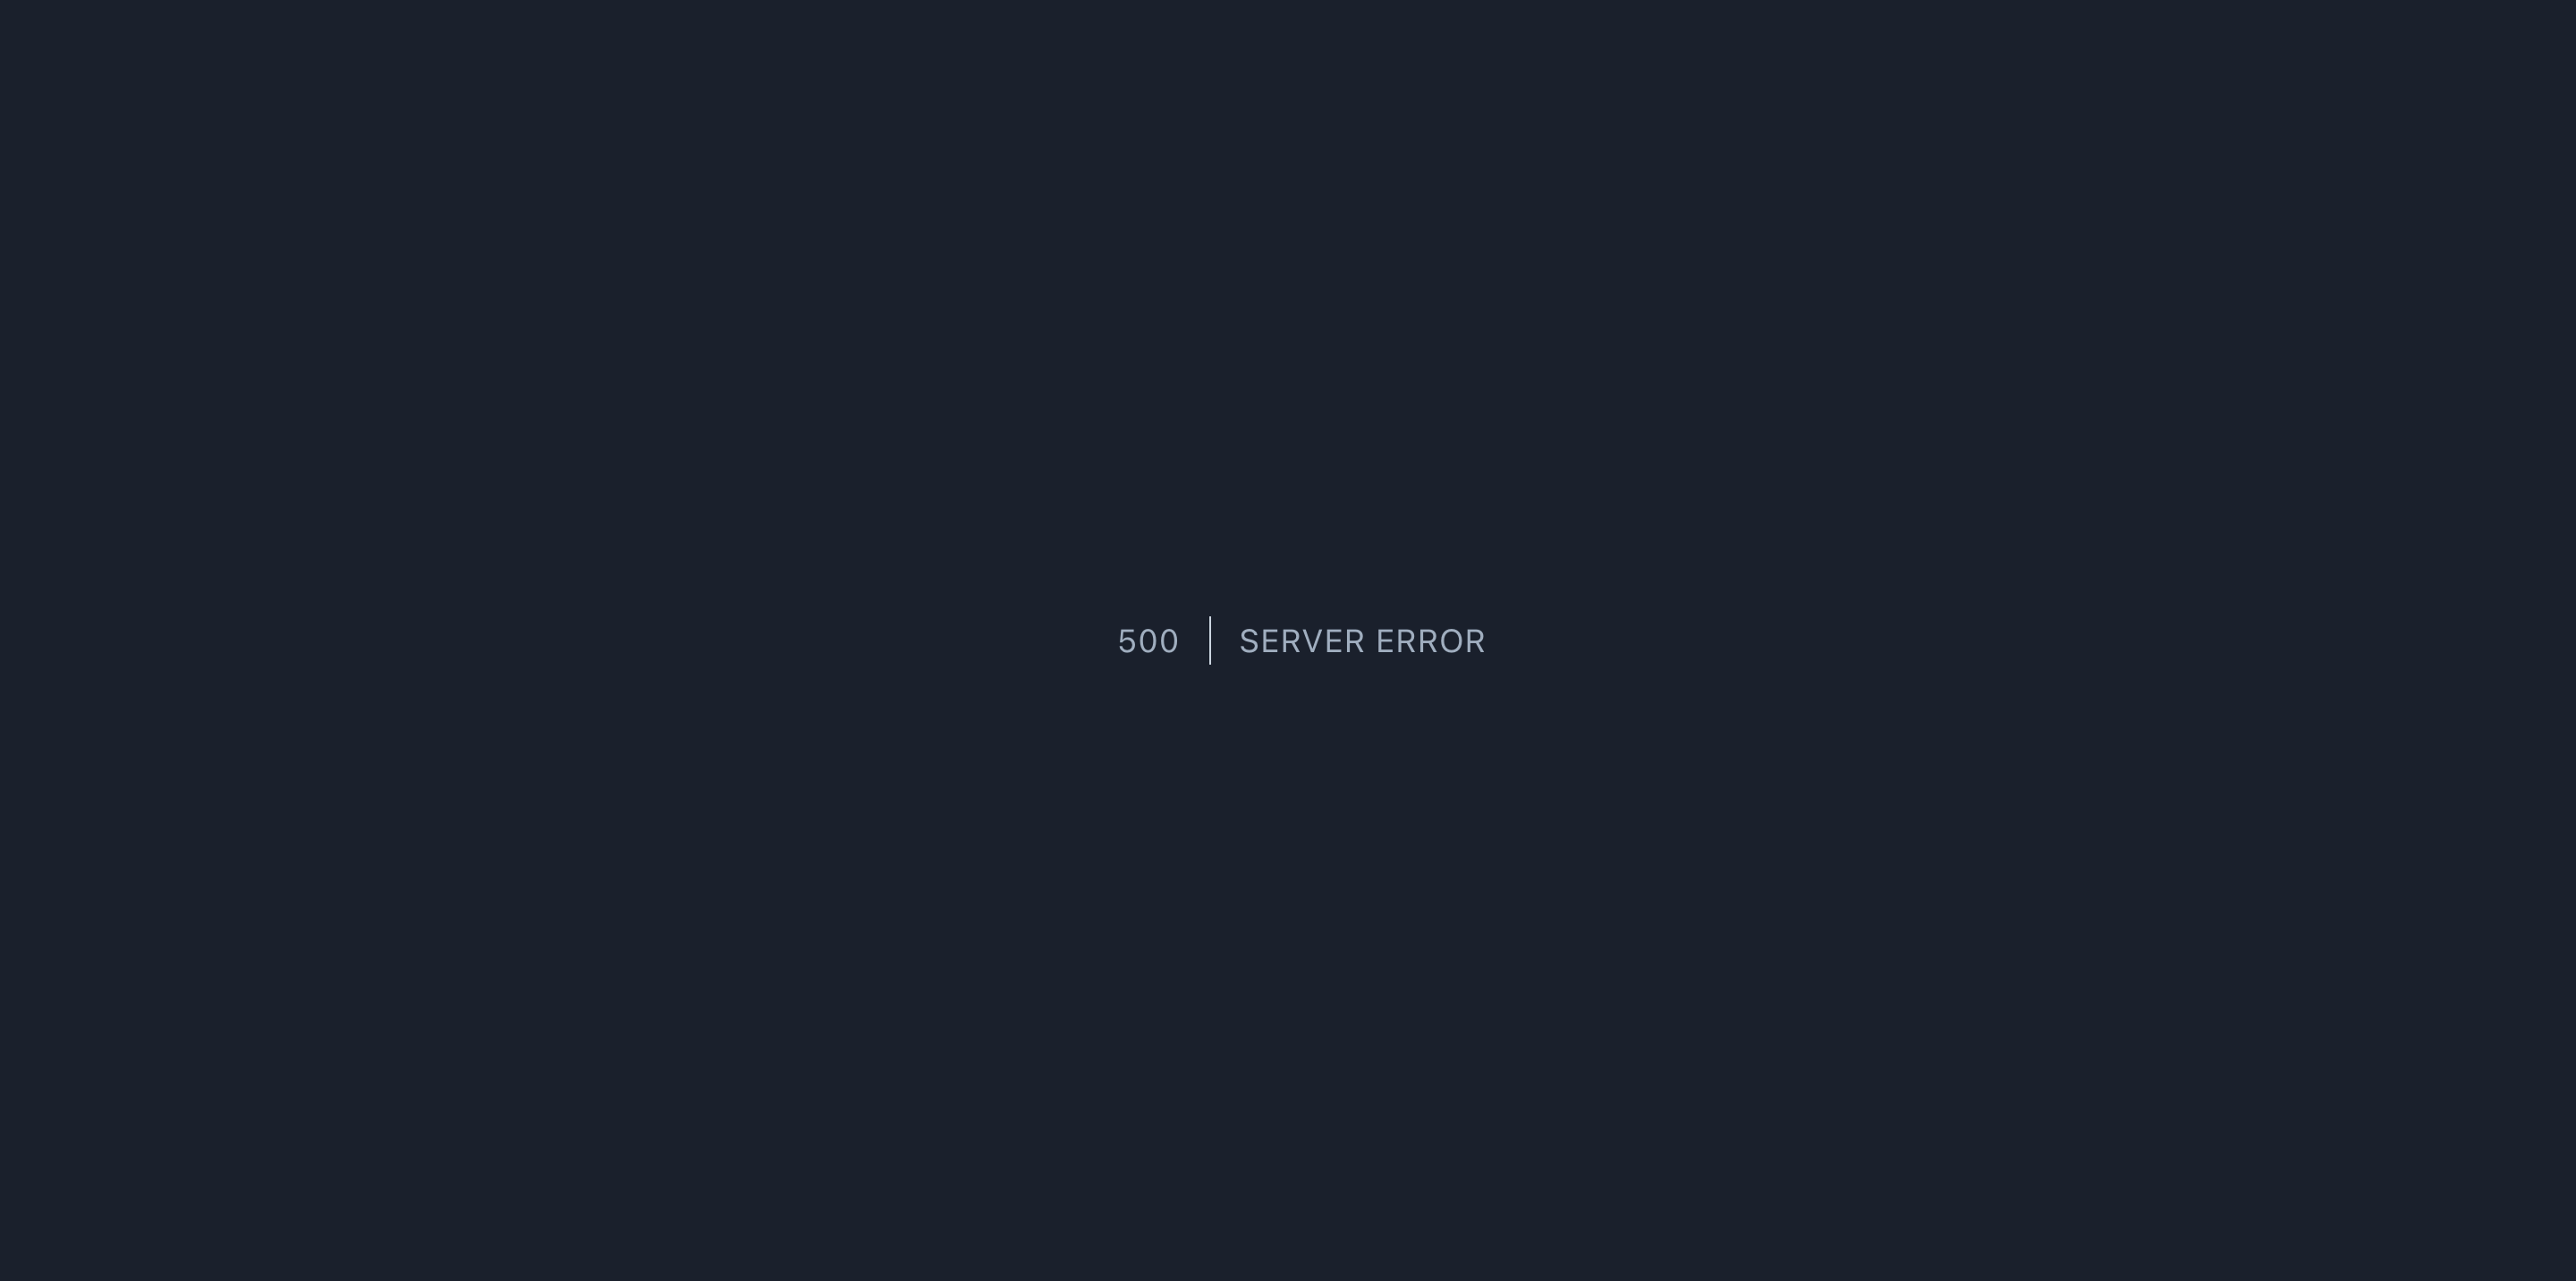
This setting is also used by popular debugging packages like:
url
'url' => env('APP_URL', 'http://localhost'),
This setting might seem unimportant at first glance, because when browsing your application, everything appears to work fine even if this value isn't properly set. But there's a catch - we need to understand how Laravel's route generation works.
We're all familiar with the route helper - incredibly useful and widely loved. But what exactly does it do?
In most cases, it generates an absolute URL for the given route name, for example:
route('brands.index'); // https://myapp.com/brands
However, when working with commands or queue processes, this value isn't available - there's no actual HTTP request. This is where Laravel falls back to using your app.url configuration.
public function handle(): int
{
    $host = config('app.url'); // myapp.com
}
**This is just an example, the actual implementation from the framework it's more advance, if you want to take a look check the code
timezone
This is the timezone your application should use. By default it's set to UTC (Coordinated Universal Time), which serves as the global time standard from which all other timezones are calculated.
This setting is crucial when working with Laravel's date-related features:
- Carbon
- Command scheduling
- Job queues
- Model timestamps
While it might seem logical to set this to your local timezone (like America/Mexico_City in my case), this isn't actually best practice - especially if your application serves users across different timezones worldwide. Each user will have their own timezone different from your configured one, which is why keeping UTC as your base and converting as needed is the recommended approach:
use Illuminate\Http\Request;
use App\Models\User;

public function index(Request $request)
{
    $user = User::first();

    $localDate = $user->created_at
                        ->format('Y-m-d H:i:s'); // "2025-03-12 01:35:56"

    $clientDate = $user->created_at
                        ->setTimezone('America/Mexico_City')
                        ->format('Y-m-d H:i:s'); // "2025-03-11 19:35:56"

    return response()->json([
        'message' => "The user was created at {$clientDate}"
    ]);
}
locale
'locale' => env('APP_LOCALE', 'en'),
This setting is specific to Laravel and is used to manage global configuration and adjust your application's translations. You can modify this value anywhere in your application using the appropriate methods:
app()->getLocale(); // 'en'

app()->getLocale(); // 'en'

app()->isLocale('en'); // true

app()->setLocale('es'); // configura a español
It's also useful for configuring your HTML to let crawlers know which language your application uses:
// components/layout/app.blade.php
<!DOCTYPE html>
<html lang="{{ str_replace('_', '-', app()->getLocale()) }}">
    ...
</html>
fallback_locale
'fallback_locale' => env('APP_FALLBACK_LOCALE', 'en'),
If your application doesn't have a proper translation for the current locale, it will fall back to this configuration setting.
faker_locale
'faker_locale' => env('APP_FAKER_LOCALE', 'en_US'),
This value is mainly used to seed the database with fake data, using Faker as the data generator:
// en
fake()->name(); // 'Mr. Dejuan Reynolds PhD'

// es
fake()->name(); // 'Jessyca Parisian'
cipher
'cipher' => 'AES-256-CBC',
This is the encryption algorithm your application will use, typically through the Illuminate\Support\Facades\Crypt class. By default it uses AES-256-CBC, currently the most secure option. However, you can change it at any time - just note that any encrypted values in your database will become unusable. The available encryption algorithms are:
- aes-128-cbc
- aes-256-cbc
- aes-128-gcm
- aes-256-gcm
key
'key' => env('APP_KEY'),
This configuration is tied to the previous one - it's the key/password used for encryption with the selected algorithm. Laravel also uses this setting for generating password reset tokens and signed URLs.
You can typically generate this key securely using the following command:
php artisan key:generate
Note that changing this key will invalidate any records encrypted with the previous key.
previous_keys
'previous_keys' => [
    ...array_filter(
        explode(',', env('APP_PREVIOUS_KEYS', ''))
    ),
],
If you need to change your encryption key - whether as a precaution or because it was publicly exposed - you can perform a gradual migration. Here you can list your previous keys separated by commas. Laravel will attempt each one until finding the correct key. The recommended approach is to prompt users to reset their passwords and other encrypted data so they can be re-encrypted with the new key.
Example how Laravel does this
use lluminate\Encryption\Encrypter;
use Exception;

$key = config('app.key');
$previousKeys = config('app.previous_keys');

$keys = [
    $key,
    ...$previousKeys
];

foreach($keys as $key) {
    try {
        $value = new Encrypter()->decryptString($value);

        return $value;
    }
    catch(Exception $e) {
        continue;
    }
}

throw new Exception('Value can not be decoded');
**This is just an example, the actual implementation from the framework it's more advance, if you want to take a look check the code
maintenance
'maintenance' => [
    'driver' => 'file',
    'store' => 'database',
],
Configure maintenance mode storage, to put your app in maintenance mode you can run:
php artisan down
And for bringing back to live:
php artisan up
Additional configuration options available in Laravel documentation.
When you run this command, a maintenance.php file will be created in storage/framework to handle 503 responses and notify users about maintenance mode.
If you have multiple servers running, you'll need to execute this command on each one. However, if you switch to the cache driver, this can be shared and you'll only need to run it on a single server.
This covers the core configuration options. Future posts will explore additional parameters like frontend_url, asset_url, service providers, and aliases.
Hope you found this deep dive helpful! :)

Andrés López
Laravel lover, Vue enthusiast & writer of everything sounds interesting